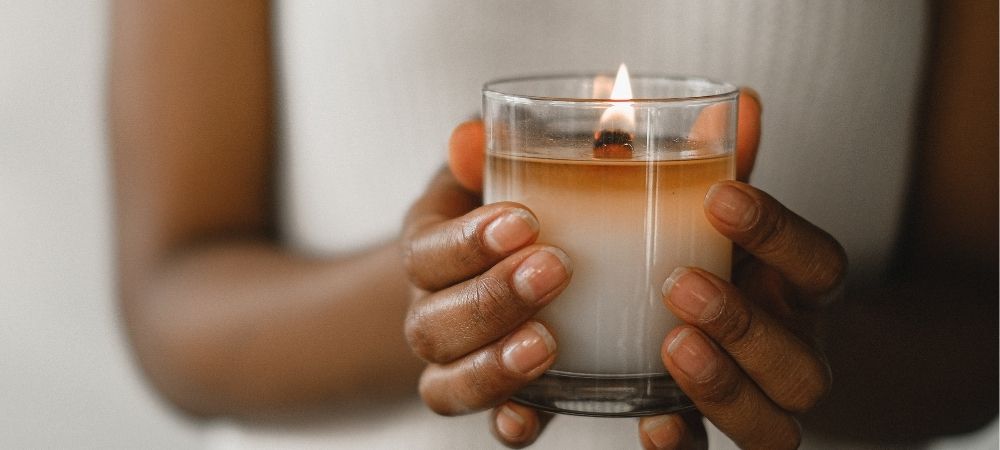
Nothing says cosy like curling up with a good book, with the soft glow of a gently perfumed scented candle… but the impeccable #cosyaesthetic vibes are a bit lessened when you have to shell out for yet another overpriced luxury candle. But there is a solution: make your own candles.
You might think it’s too much of a faff to make scented candles at home, but we think you might be pleasantly surprised by how easy it can be once you’ve got the right kit. A word of warning, though: once you start mixing and matching scents to find your favourite combinations, you might just find it’s a little bit addictive. Read on to discover how to make candles at home, and you can live your very best hygge-cosy lifestyle all year round.
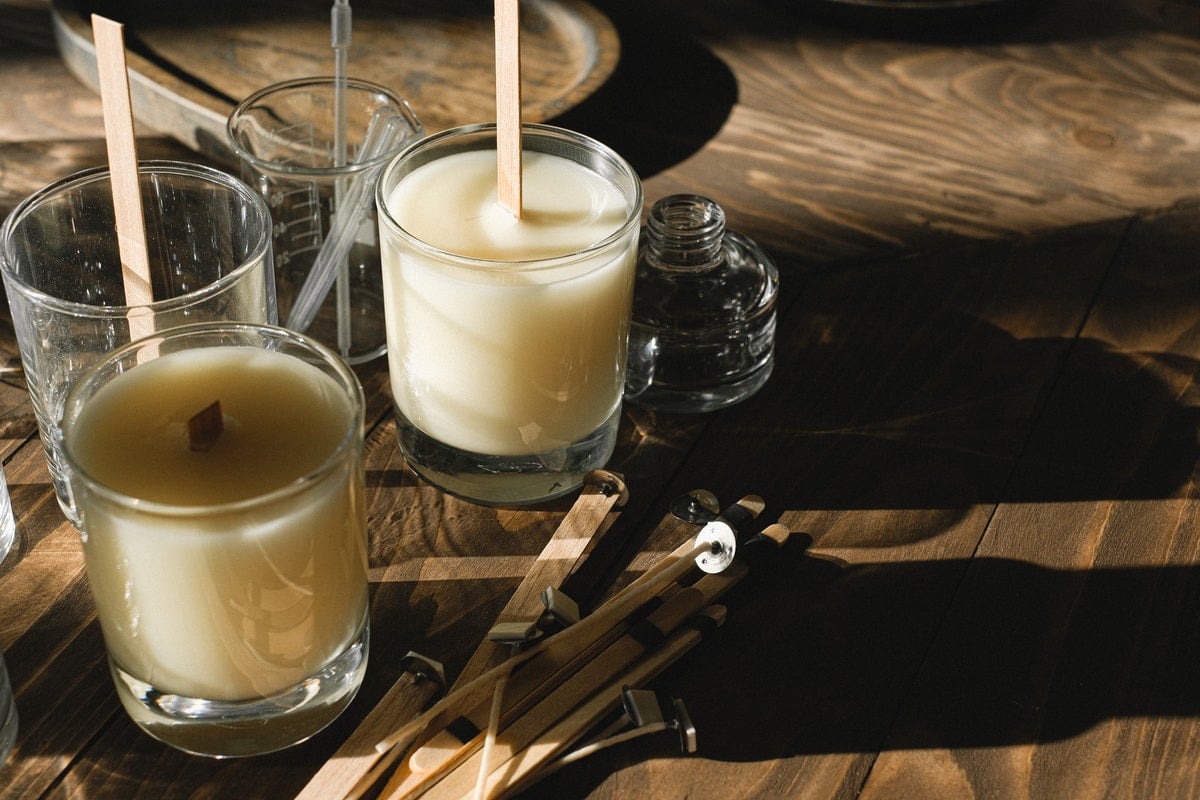
Why make your own candles?
Look, we assume that you’ve ended up here because you have at least a very passing interest in making your own candles at home, but if you still need a little bit of convincing, here are some of the reasons we think learning how to make candles is a great idea.
- Save on buying expensive luxury candles. Yes, we know, the temptation of another jar of ‘Clean Laundry’ or ‘Sunset Honeyblossom’ is strong, but candles can be super pricey! Making your own costs less – and you get to show off to everyone who comes into your house. Win-win.
- They make amazing gifts. Seriously, picking someone’s favourite colour and scent and making them a personalised candle is a really sweet gift that they’re sure to appreciate.
- If you have enough containers (or use candle moulds to make little tealights) you can make your own candles and use them as wedding favours. Pick a scent that you and your partner both love, and give them to guests!
- You control what’s in the candle. Love the scent of vanilla, but hate that every candle on the market smells like being punched in the face with a cupcake? Make your own, and tailor the scent to your personal taste.
- Worried about the air contamination from traditional candles? Use soy wax – soy wax candles burn cleaner, and don’t release as much soot into the air.
What you need to make your own candles
When you know how to make your own candles, you can get as fancy as you want, and there are plenty of stores online offering incredible combos of colour and fragrance. But if you’re just starting out with learning how to make candles, we’d suggest keeping it basic – and knowing your basics. These are the things you need to know about when you’re learning how to make candles:
Wax
The main event. You can buy wax at most craft stores, and it comes in little chips that melt down easily or sometimes in a larger block, where you chop it down into usable chunks. We recommend soy wax, because it burns cleaner and makes for a longer-lasting candle (which, let’s face it, everyone wants). The traditional paraffin wax holds scent a bit better, but it throws off more soot.
Wicks
You can buy pre-waxed wicks for every kind of candle, but if you’re planning on using larger containers, pick up a larger wick so that the flame is big enough to evenly melt all of the wax. You can buy glue dots for the wick base, or cores to help them stand still.
Suitable candle containers
You might have visions of pouring candles into delicate glasses – but not every single kind of glass is safe for making candles! If you’re using glass, it should be smooth, thick, and heat resistant – mason jars and jam jars are perfect. You can also re-use existing candle jars – just clean them out with hot water, and put them to good use while also boosting your eco-credentials. Ceramic containers and metal tins are also a great option.
Fragrance
You can use essential oils or synthetic fragrance, depending on what you want your candle to smell like. It’s worth bearing in mind that vanilla-based scents tend to be strong, while citrusy scents might burn off quickly. Some fragrances are stronger than others, so it depends what you’re using, but the general rule of thumb is to stick to about 5-8% – 5ml of a fragrance oil will perfume 5kg of wax. If you want your candle to smell stronger, you can add a little more, but don’t go over 10%, as it can affect how your candle burns.
Candle dye
If you want your candle to be a specific colour, you’ll need candle dye. This can be bought as liquid, wax chips or as powder. If you’re just doing some fun home crafting, you can actually also use wax crayons – strip off their paper covering and melt them carefully, and they can then be mixed into your wax.
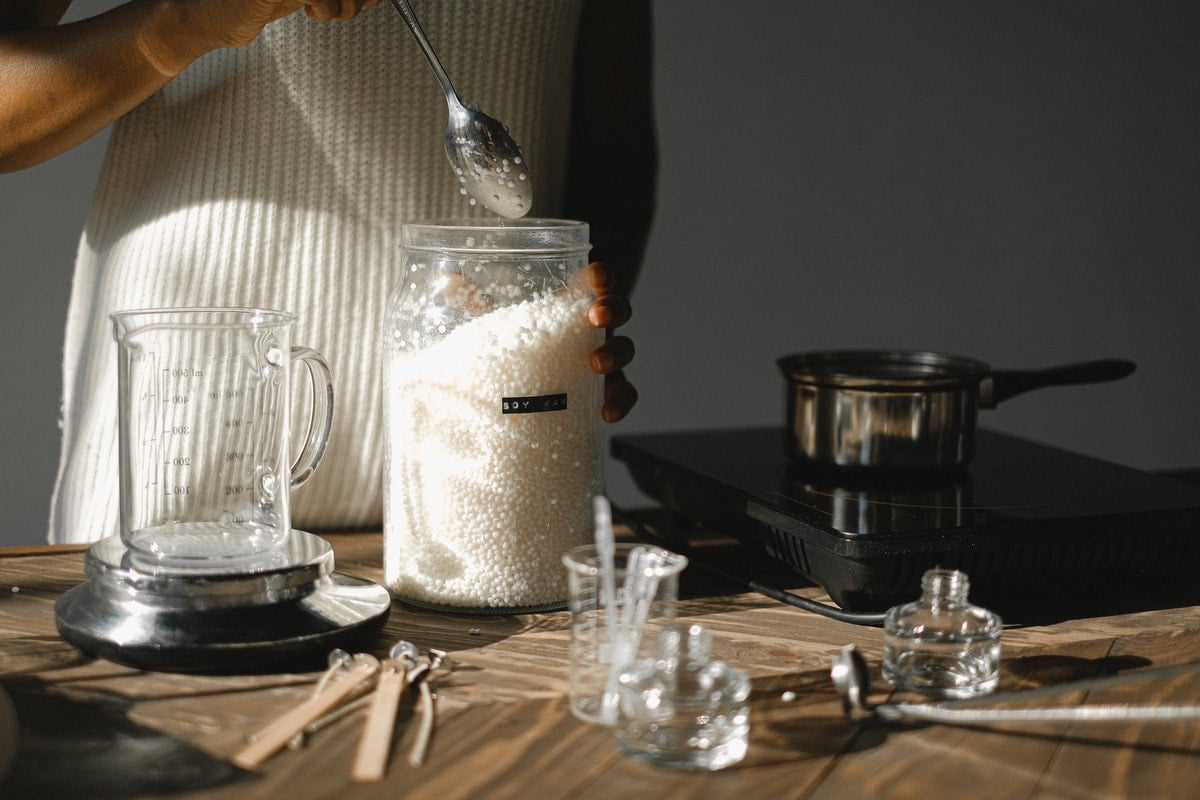
Materials
- Wax
- Wicks
- Suitable containers
- Fragrance
- Colour
- Wooden skewers, pencils or chopsticks
- Utensil for stirring the wax
- Thermometer
- You’ll also need a source of heat and a double boiler, or a heatproof bowl and a saucepan
Directions on how to make candles
- Prepare your working area! Hot wax sticks to everything and it will mark fabric, so make sure you’ve covered the area where you’re working and you’re wearing an apron and gloves. Have everything prepared ahead of time, because the process can be faster than you expect.
- Prepare your wicks – make sure they’re longer than your container, and remember that you can trim them down afterwards.
- If you have wicks with sticky tabs, you can stick them to the bottom of your container – otherwise, place a dab of melted wax into the bottom of your container, and press the wick pad against it to secure it to the bottom. Then, rest a wooden skewer or pencil horizontally across the top of your container, and attach the wick by taping or tying it on to make sure the wick stands straight.
- Measure out how much wax you need to fill your containers. If you’re not sure how much wax you need, fill your candle container with water, measure the water with a measuring jug and convert this into grams to find out how much wax you’ll need.
- Melt the wax, stirring gently – it should take a couple of minutes to melt. Heat the wax to 65°C, and make sure it doesn’t go over 80 °C.
- Once the wax hits 70°C, add candle dye if you’re using it, and stir gently until it’s dissolved and evenly spread throughout the wax. If you’re using liquid candle dye, use a few drops at a time to get the colour. Remember, you can add more, but you can’t take it out again!
- Add your fragrance to your melted wax and stir gently.
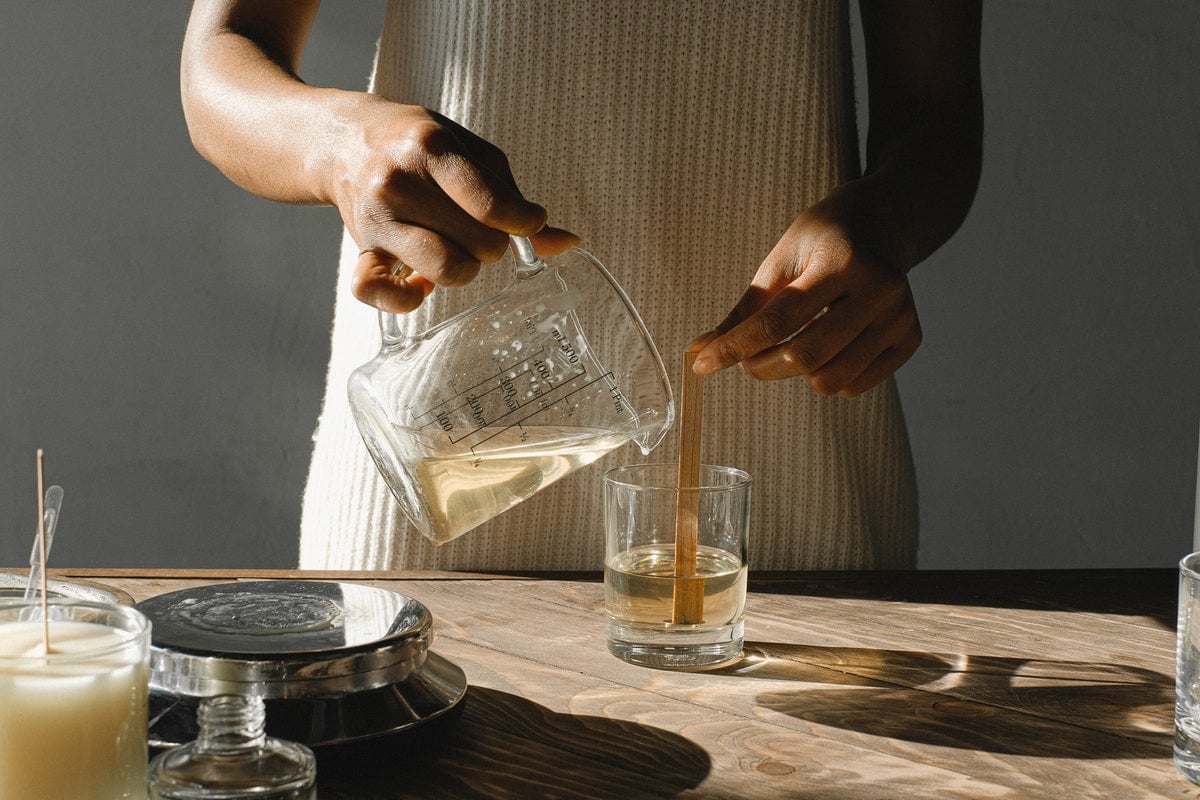
- Carefully pour your wax out of the container you used to melt it, and into a pouring jug, then into your candle containers.
- Leave the candles to rest and set for at least an hour. Some candlemakers recommend leaving the candle to rest for at least 24 hours.
- Trim the candle wick, and enjoy your very own homemade candle!
Safety tips
- Never leave a candle unattended, and make sure there’s nothing at all near a lit candle that could catch fire. That means nothing that could tip onto it, or be dislodged by a stiff breeze!
- Trim your candle wick to about a quarter of an inch every time you use it. Keeping the wick trimmed stops the candle flame from getting too large – large flames and an overlong wick can cause the wick to lean over, which can heat the side of your container. This makes it more likely that the container will crack – and it will also make your candle burn unevenly, and no-one wants that.
- Keep your candle away from water – trust us, when cold water meets hot glass very bad things are likely to occur, including possibly your candle container (and the hot wax inside) exploding. Hot wax and glass shards everywhere? No thank you!
There you have it: you now know how to make candles. Go forth, show off to your friends and family, and feel absolutely oh-so-cosy at all times of the year. For more crafty DIY tips, check out our How To guides, from winter craft ideas to making flower garlands.

