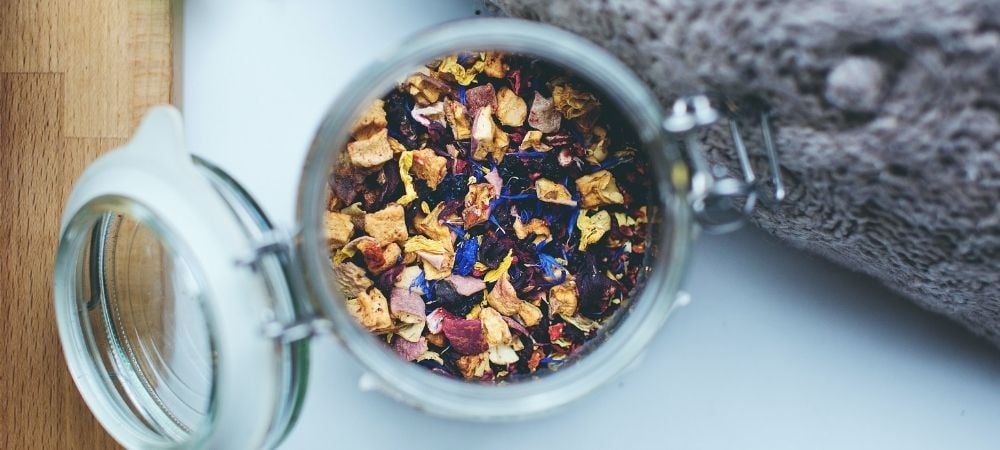
Looking for a new easy, inexpensive DIY craft project? Well, you’re in luck as today we’re going to tell you everything you need to know in order to be able to make your own potpourri.
The best part is that you really don’t need much to get going and the process is super straightforward meaning you can easily do it again and change things up if you feel like doing so.
As you’ll come to find out below, flowers are the main component in making potpourri. So, the next time you’re gifting someone a lovely floral bouquet, you might want to mention that they can get crafty and get some extra enjoyment out of their blooms! They don’t need to immediately throw them away once they’re past their best – they can actually have another use.
(Although we do also have a guide on top tips to make flowers last longer too!)
What is potpourri?
Perhaps you’ve never heard the term before and are currently sitting there wondering – what exactly is potpourri?
In short, potpourri is a mixture of dried petals and leaves as well as spices, herbs, and essential oils usually placed in open bowls and used to make a room smell pleasant – so basically a more natural alternative to scented candles, air fresheners, and diffusers.
How to make potpourri
Now you know what potpourri is, the only question that remains is where to start? Here’s what you’ll need:
- Flowers
- Scissors
- Baking tray
- Airtight container
- Essential oils
- Fixatives (optional)
- Citrus peels, herbs, whole spices (optional)
- Display container
For those who want to take it a step further, you can add some citrus peels, fresh herbs, or other whole spices and decorative bits and bobs, although these are entirely optional.
Also, if you’re struggling with which essential oils to pick, some common popular choices are rose, lavender, and citrus.
Making your own potpourri: a step-by-step guide
Now that you’ve got everything ready it’s time to actually get down to business and make potpourri.
- Gather the flowers you’re going to use; any kind will work although those with stronger scents like roses are a particularly great choice.
Tip: If your potpourri is going to be on display you might want to choose flowers in colours that will go with the rest of the room. - You can dry your flowers in a few different ways – one way is by leaving them out on a baking tray for two or so weeks, or you can bob them into a preheated oven for around 2 hours or until fully dry.
Tip: Direct sunlight will also help dry your ingredients faster. - Prepare your flowers by cutting off any stems. It’s completely up to you whether you want to keep the full flower heads or opt for individual petals as part of your potpourri.
- Next up, you need to add the all-important essential oils – two or three drops should be enough at first as you can always add more later. A word of warning, too much may result in a medicinal smell so it’s best to use them sparingly.
Tip: If you’re going to mix different essential oils be sure that they complement each other nicely. - Close your airtight container and let it sit for at least 2 weeks.
Tip: The longer you leave it sitting, the stronger the smell will be. - Next, you can add in a tablespoon of a fixative such as orris root to prevent the essential oils from evaporating and thus helping the fragrance last longer.
- The final step is to place your potpourri in your display container whether that be a basket, bowl, jar, or satchel, and take in the heavenly aromas filling the room.
Tip: As above, if you are going to place your potpourri on display then it’s worth taking the extra time to rearrange how it looks within your container so that it is visually appealing.
Why not get friends and family involved and make it a group craft? That way you can all make use of the materials and create unique potpourri scents tailored to your own preferences.
How to refresh old potpourri
As you can see, making potpourri is simple enough and while it tends to last at least a couple of weeks (if not longer), of course at some point the lovely smells will begin to fade. However, luckily, reviving your potpourri is just as easy.
All you need to do in order to breathe new life (and smell) into your old potpourri is to carefully pour your potpourri into a bowl or bag that’s large enough to hold everything without overflowing.
Then add two or three drops of your preferred essential oils – try to use the same one as before or as close as possible if you can’t remember exactly which one it was.
Last but not least, cover your bowl or seal the top of your bag shut and mix the ingredients thoroughly to ensure that the scent is spread throughout.
Afterwards, if you still don’t think it smells quite strong enough then you can always add another drop or two of oil and repeat the process.
Now you are ready to make potpourri in the comfort of your own home! If it doesn’t seem like your thing, don’t worry – we also have a guide on how to make your own homemade candles as well as other spring crafts that you will be sure to enjoy.
And if you’re on the hunt for more crafty projects then be sure to check out the thortful blog where you can find loads more DIY ideas and ‘How to’ articles whether you’re looking to relieve some boredom or create something for a special occasion.


