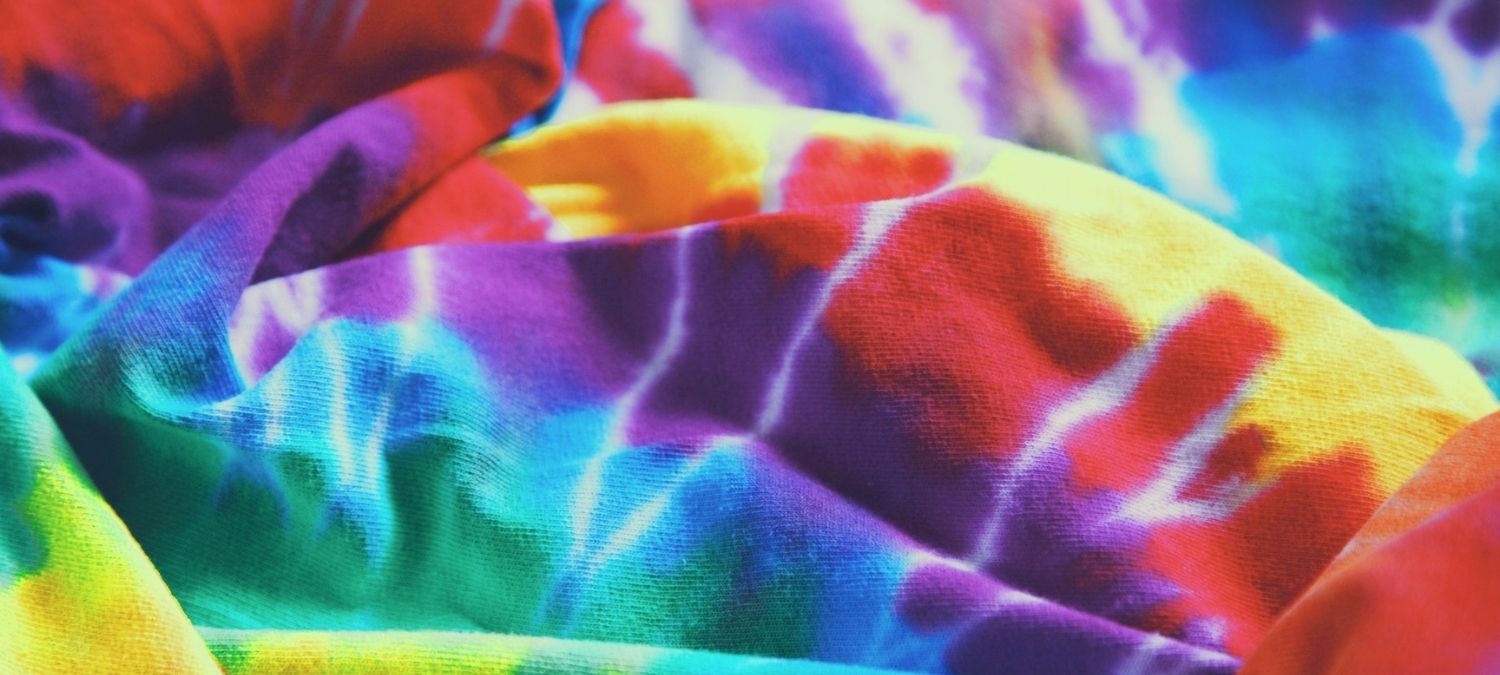
Groovy, baby! Okay, okay, so tie dye t shirts are no longer a relic of the swingin’ Sixties, but we couldn’t resist. The sight of a swirly rainbow tie-dyed t-shirt might make you think of the psychedelic counterculture of the ‘60s, or maybe the vintage throwback vibes of the 90s – but frankly tie-dye is having a moment. And the good news is, if you like the look of tie dye designs, then it’s surprisingly easy to get create your own at home – read on to learn how to tie dye t-shirts for an effortlessly casual vintage look.
What is tie dye?
Tie dye is exactly what it sounds like – you tie fabric into tight bundles, and then dye that fabric. That’s obviously a simplification, but it’s the simplicity of the method that’s helped keep it alive for literally thousands of years.
That’s right – the humble tie-dye has in fact been around since the 5th century, where it has been seen in Sui dynasty China, though not in the super-saturated rainbow swirls you’re probably most familiar with. In Japan, the ancient method of Shibori is an intricate version of tie dye which has been regularly practiced since the 8th century. In fact, forms of tie dye have been commonplace in lots of countries as a traditional fabric dying method. In Indonesia, it’s often combined with batik, which involves applying dye-resistant wax to fabric to make detailed patterns.
Tie-dye got big in the ‘60s in America as part of the counterculture movement. It was an inexpensive way to customise t-shirts and clothing into a more psychedelic statement of style – and it’s persisted ever since. If you’re making a shirt for someone who’s into everything 60s, then far out, man – make sure you check out our 60s themed cards.
Tie dye materials
Want to try your own tie dye? Here’s what you’ll need:
- Plain white t-shirts, ideally made of cotton or mostly cotton – natural fibres are the winner here
- Dyes – Dylon dyes are available at most large supermarkets, or you could pick up a tie-dye kit from Hobbycraft,
- A squeeze bottle – a tie-dye kit will come with this, but an old mustard or ketchup bottle will work fine.
- Rubber bands
- A tub or bucket of water
- Large resealable plastic bags
- Bin bags or plastic sheeting to cover surfaces
- Rubber gloves
- Apron
- (Optional) Soda ash
thortful top tip: If you bought new t-shirts to tie-dye, make sure you wash them first to get rid of any stiffness or residue left over from being manufactured, or you might end up with a streaky effect – and no-one wants that.
How to tie dye
- Prepare your dying area
First, lay down bin bags or plastic sheeting to avoid getting dye on your kitchen table or surfaces! Alternatively, you can work outside on the grass if you’ve got a garden. You’ll be working with dye which will, obviously, dye the things it comes into contact with, so wear old clothes and cover up with rubber gloves and an apron.
- Soak your t-shirt
Soak your t-shirts first – the tie-dye experts recommend soaking your shirts in a mix of soda ash and warm water for about 10-20 minutes to help the dye permeate, but you can just use warm water if you don’t have soda ash.
If you’re using soda, follow the instructions on the packet, but make sure the soda ash is fully dissolved and cover your hands as you’re soaking the fabric – soda ash is slightly caustic so it can sting. Once your shirts are soaked, wring them out as much as you can, or throw them in the spin cycle of your washing machine for a few minutes.
- Tie-dye your shirt!
As it sounds – it’s time to tie and dye those t-shirts! Check out our tie dye pattern ideas below for some inspiration.
- Let the dye set
Once you’ve finished applying your dye, then comes the hard part – waiting for the dye to prove. Ideally you want to leave your tie dye t shirts to settle for at least 24 hours, but not more than 36 hours.
- Rinse
Wearing gloves again, unwrap your tie dye design carefully near a sink and run it under the cold water tap. You can either take the bands off now, or start rinsing out the shirt and remove the bands as you go. There’ll be a lot of dye released, but don’t panic – just keep rinsing until the water runs clear, which might take a while. Eventually, you’ll be able to see your tie dye t shirt in all its (hopefully) stylish glory. We’d recommend running your shirt through the cold cycle on your washing machine as well.
thortful top tip: While you can wash your tie dye t-shirts in the washing machine as normal once these steps are done, you might want to wash anything tie dyed once or twice on their own, just in case you didn’t get all of the excess dye out while rinsing.
Tie dye techniques
There are plenty of different tie dye techniques you can try when learning how to tie dye t-shirts, each of which will give you different tie dye designs. Here are a couple of our favourites.
The Scrunch
- Scrunch your t-shirt into a rough ball, and wrap the whole thing with rubber bands. Use enough to hold the ball shape
- Apply one colour of your chosen dye to the shirt with a squeeze bottle, until it’s well coloured but not dripping wet.
The Spiral
- Lay your t-shirt out flat.
- Starting at the middle of the t-shirt, use either your finger or the end of a wooden spoon to start twisting the fabric clockwise around the centre point. You want to make a flat spiral shape – try to keep it flat, and don’t let the fabric creep up to make a point.
- Once you’ve achieved the perfect squidgy spiral, carefully slip rubber bands across the spiral – we’d recommend three bands, so you can segment the t-shirt like a pizza. Keep the spiral as flat as you can while you’re slipping the rubber bands on!
- Dye each section a different colour, keeping within the lines as much as you can. It should be thoroughly coloured but not dripping wet.
- Flip over, and repeat on the other side.
The Polka Dot
- Lay your t-shirt flat.
- Decide where you want your polka dots to be on the shirt. You can use small bouncy balls, large beads or beans to create polka dot shapes.
- Place your bead in between the two layers of the shirt, and pinch the top of the shirt around the bead, then secure with a rubber band.
- Apply dye all over the t-shirt, everywhere apart from the dots secured with rubber bands – you’ll get a pleasing white polka dot effect from this method.
Learning how to tie dye t shirts at home is a great craft to enjoy with kids or even as a fun party idea – if you find you’re getting good at it, then you could create special tie-dye shirts as a cute birthday gift. Just pair with a thortful birthday card and maybe a little something extra from our range of gifting options, and you’re good to go!
Looking for more DIY inspiration? Check out our how to guides for sweet crafting inspo, from making your own soap to pressing flowers.