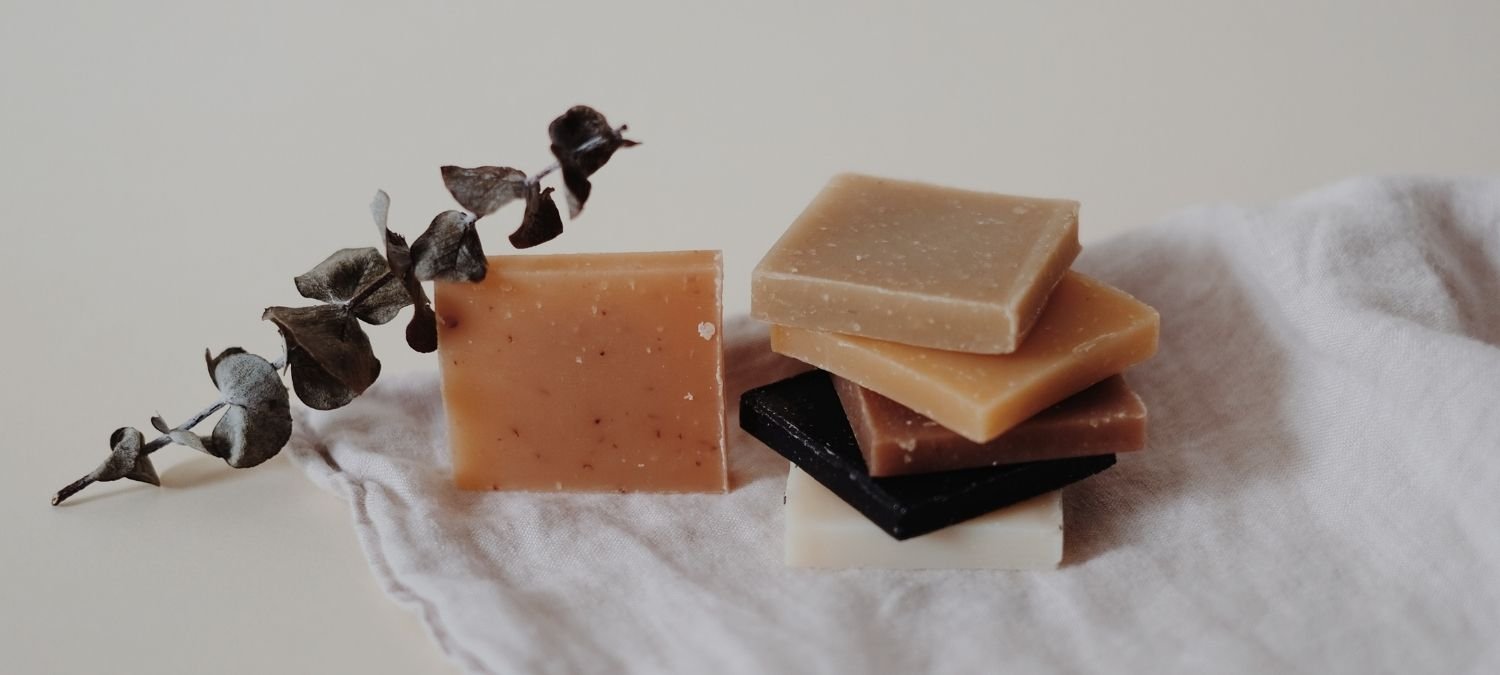
Hear us out on this, but we think there’s just something super satisfying about a bar of handmade soap. Pick a bar with pretty colours to look great on the side of your sink, and one with a great fragrance so your skin smells sweet and feels moisturised. Well, how much more satisfying would it be to make your own? You might be surprised how easy it is to learn how to make soap at home – read our handy guide to find out more.
There are lots of methods for making soap at home, but we’re going to take a look at one of the safest and easiest methods for soap-making beginners: how to make soap using melt-and-pour, or soap base.
What is soap made of?
Soap is (at a basic level) made of two components: fat and an alkaline, which in soap making is almost always some kind of oil and the chemical lye respectively. When lye and fat mix together, the mixture goes through a chemical process called saponification. Saponification rearranges the molecules of the lye, which is a science-y way of saying essentially the lye is used up in order to turn the fat and lye into soap. Once the process is complete, the resulting soap is completely safe to handle and use.
Lye can be dangerous to work with, because it’s extremely corrosive – if you’ve ever seen the movie Fight Club, you’ll know what we’re talking about. Lye can burn skin and burn through clothes, as well as giving off fumes. If you’re not careful when mixing lye and oil, you could be risking some serious safety issues – which is why we’re sticking to talking about how to make soap with soap base in this guide.
By the way, when we talk about using fat in your soap, we’re not necessarily talking about a stick of Lurpak – usually it’s one or more oils like olive oil, coconut oil, castor oil or something similar. Different oils give your soap different properties – for example, olive oil is moisturising for the skin, but doesn’t lather very well, while coconut oil gives you a good lathery scrub but can dry out skin.
While there are some brilliant guides online on how to safely make soap at home using lye and oils – we recommend one of Soap Queen’s helpful guides – we’re going to recommend the simpler method of using a soap base, or ‘melt and pour soap’.
What is soap base?
Soap base, or ‘melt and pour’ soap is clear soap that’s already gone through the saponification process. It’s made especially for soap makers, and it makes it a lot easier, simpler and cheaper to make your own soap at home. You can buy it online from soap specialists like The Soap Kitchen, or from craft stores like Hobbycraft.
Using a soap base is also a little bit more family friendly. While there’s still safety risks – you’ll be handling very hot liquids and oils – if you want to make soap at home with older children as a crafting activity, using a soap base is definitely the way to go.
There are different kinds of soap base, with different mixes of oils to give different end results. The most common is clear glycerine soap base, but some others might contain things like goat milk or aloe vera to make the soap more moisturising.
What fragrance is best for soap?
If you want your soap to smell lovely, you can use fragrance or essential oil. A general rule of thumb is to use 0.4 oz of fragrance per pound of soap. Not sure what kind of scent you want? Here are some scent ideas:
Lavender is one of the most popular scents – it’s soothing and calming, and great for pre-bedtime bathing rituals.
Vanilla is another popular pick. It’s sweet and comforting – but bear in mind that most vanilla extract may turn your soap slightly brown. For a similarly sugar-sweet scent, you can also try honey or cinnamon!
Want to make a bar of soap that smells fresh and clean? Citrus scents like orange and lemon are revitalising and energising, and will make your bathroom smell amazing!
You can also combine scents to make delicious aromas – mix vanilla and chocolate to make a cookie-scented bar of soap, or perhaps lime and mint for a refreshing mojito-scented soap.
How to make soap at home
If you’re using soap base, it’s really easy to make your own soap at home! First, you’ll need to find a mould for your soap – you can choose whether you’d rather make a traditional bar soap, or use a fun mould. There are lots of creative soap moulds available, from little hearts to flowers or even cupcake shapes. We’d recommend a silicone mould for beginners, as it’s a lot easier to get the soap out! You’ll need to know how much your mould can hold so you can choose the right amount of soap base.
Ingredients for making melt and pour soap
- Melt and pour soap base
- Fragrance oil
- Soap dyes in your choice of colours
- Rubbing alcohol in a spray bottle
Equipment you’ll need
- Weighing scales
- Glass or Pyrex measuring jug
- Cutting board
- Measuring spoons
- Silicone soap mould
- Paper towels
- Microwave or hob with a double boiler
- Plastic wrap
Directions for making soap
- Weigh out your soap base.
Slice the melt and pour soap base into small chunks. Use the weighing scales and measuring jug and weigh out the amount that your mould can hold.
- Melt the soap base
You can use a microwave or a double boiler on the hob to melt your soap base. In either case, be careful – soap melts at about 60°C and will be hot.
If you’re using a microwave, cover the jug with plastic wrap to keep the soap from drying out. Heat the soap base in the microwave in 1-minute intervals, removing the jug and stirring the soap every minute. At first it will be thick and chunky, but keep heating and stirring until the soap is completely melted into a liquid.
If you’re using the hob, make a double boiler by setting a tempered glass or stainless steel bowl over a saucepan of simmering water, making sure the bottom of the bowl isn’t touching the water. Add your chunks of soap to the bowl and stir slowly until they’re all melted.
- Add your fragrance or essential oil
While the soap is fully liquid in the double boiler, or once you take it out of the microwave, slowly add your fragrance oil and stir to combine. Make sure you work out the right proportion for the amount of soap you’re making (around 0.4 oz of fragrance per pound of soap).
- Add colour to your soap
Want your soap to look as good as it smells? Add some soap-safe dyes or colourants. Soap-safe dyes aren’t very strong, so add a little bit of time and stir to see how the colour looks before you proceed. You can mix different colours to get the effect you want – but remember that once the soap sets it might look a little bit different. Slowly stir to mix the colour, fragrance and soap base together – if you stir too hard or too fast, you’ll get bubbles.
- Pour the soap into your mould
Slowly pour the soap into your chosen mould! Pour carefully and don’t pour from too high, or you’ll get bubbles. If you do notice that your soap has bubbles, then spritz the surface with rubbing alcohol. Cover your mould with plastic wrap, and move to a safe place to set. Don’t put it in the freezer, as this can affect how the soap sets.
- Demould your soap!
Soap made with melt and pour soap base takes around 4-6 hours to set and completely harden. If you’re not sure if your soap has completely set, then leave it a few more hours, or even overnight. Then carefully remove the soap shapes. If you’re making bar soap, you’ll have a long rectangle of soap which you’ll need to slice into smaller bars.
Once you know how to make soap, there’s plenty you can do with the skill – maybe you can make fancy artisanal bar soap to sell as a side hustle, or create some cute little mini soaps as sweet and inexpensive wedding favours for your wedding guests! It’s also a fun craft to do with older kids – and a nice compliment to our winter crafting ideas. For more crafting ideas and how-tos, check out the rest of the thortful blog!