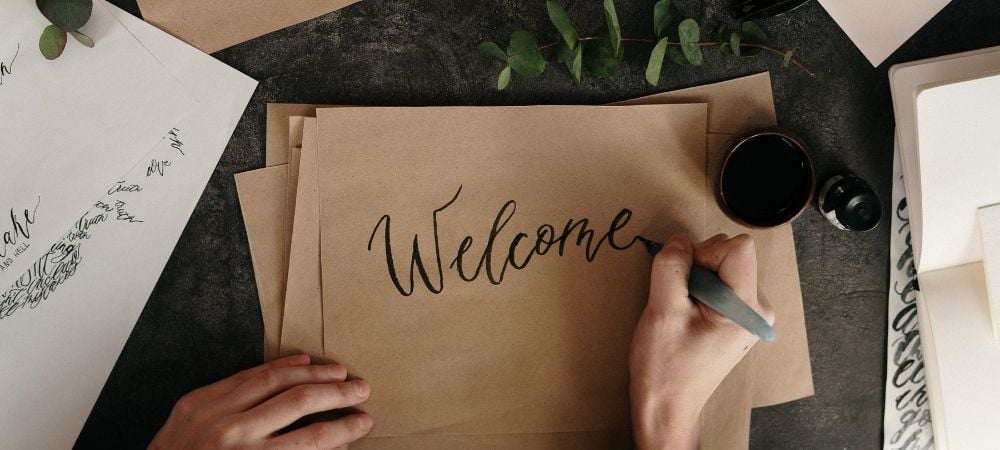
Here at thortful it’s no secret that we love to see some elegant calligraphy. Some of our most beloved card creators are experts at hand-lettering, creating stylish and graceful cards, with hilarious messages lovingly rendered in smooth curls and swirls. But if your handwriting is more akin to a spider dipped in ink crawling across the page, you might look enviously at this beautiful lettering and wonder just how you can get started with calligraphy for beginners.
Well, we’re here to tell you the good news – it’s easier than you might think to learn hand lettering. With a few tools and some practice, you too can learn how to write beautifully. We’ve pulled together some top tips to create a guide to calligraphy for beginners. Get started today and who knows – maybe someday you too will be signing everything with a flourish and perhaps even making some cards for thortful!
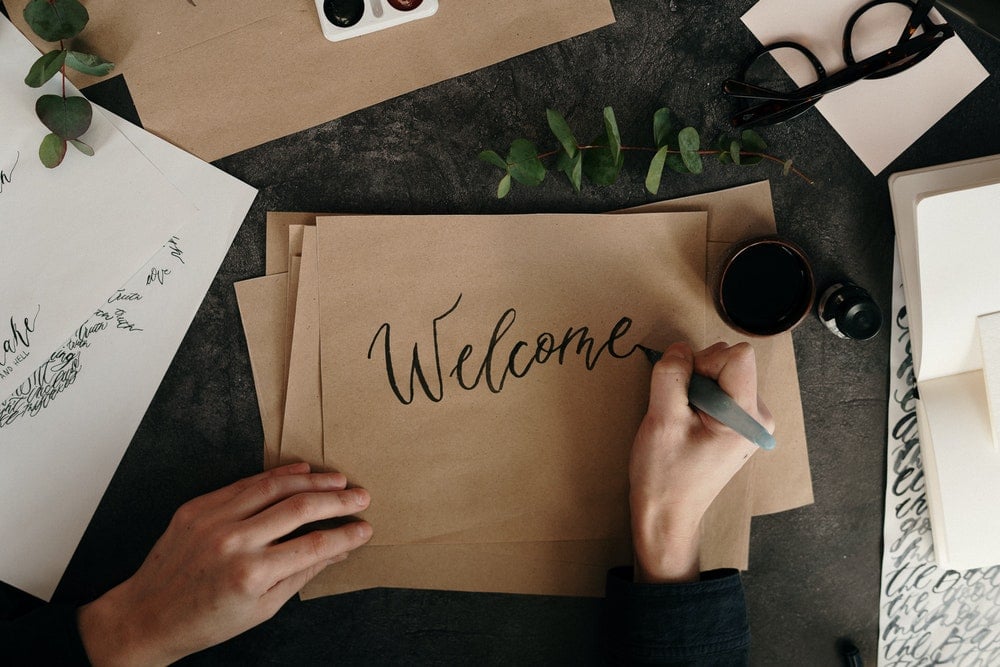
Image source: Pexels
Calligraphy for beginners: top tips
As you’re starting to learn calligraphy, there are a few essential tips you’ll need to know. Here are the top tips for hand lettering you’ll need to know as you learn how to write beautifully.
There’s a difference between modern and traditional calligraphy
When you get started with learning calligraphy, one of the first things you’ll learn is that there are different kinds of hand lettering. Both traditional and modern calligraphy come from the same discipline, which mostly comes down to the angles and pressure of the pen you’re writing with. (Don’t worry, we’ll get to that.)
For the purposes of our little calligraphy guide, we’ll be talking more about modern calligraphy, which is more free-flowing and less structured. However, traditional calligraphy is much more measured, usually forming set scripts (such as Copperplate or Spencerian script) – there are specific and structured set strokes to form each letter. For more on learning scripts like Copperplate calligraphy – including some of the history and the most suitable nibs to use – check out this guide from the impressively long-titled International Association of Master Penmen, Engrossers and Teachers of Handwriting.
Choose the right pen
When you get started with calligraphy, you might want to start out with a pencil so you can practice connecting up your letters without worrying about smearing or smudging. But once you really get started with hand lettering, you might want to graduate to an ink pen.
Different nibs will produce different shapes – depending on the look you want to achieve, here are some of the most popular kinds of pen nib types to use as you’re learning how to do calligraphy.
Round nibs (like the kind you’d find on a ballpoint pen or a fine-line pen) will have a consistent stroke, for a smooth all-round shape, but won’t create the distinctive thicker-and-thinner lines of classic hand lettering.
Brush pens are sometimes recommended for beginners, because you can easily create both thin and thick lines without needing to worry too much about angling your pen. When we say brush pens, don’t worry about finding an expensive specialist brush – a classic felt-tip marker with a flexible pointed nib is a great pen to start calligraphy for beginners.
Calligraphy nibs refer to either fountain ink pens or classic dip pens, with a split nib. The amount of pressure you place on the pen as you write moves the two parts of the nib further apart, creating a thicker line. Calligraphy nibs – whether it’s a chisel nib, pointed or blunt – can be tricky to get to grips with, so it might be easier to practice with other kinds of pen until you get used to shaping letters.
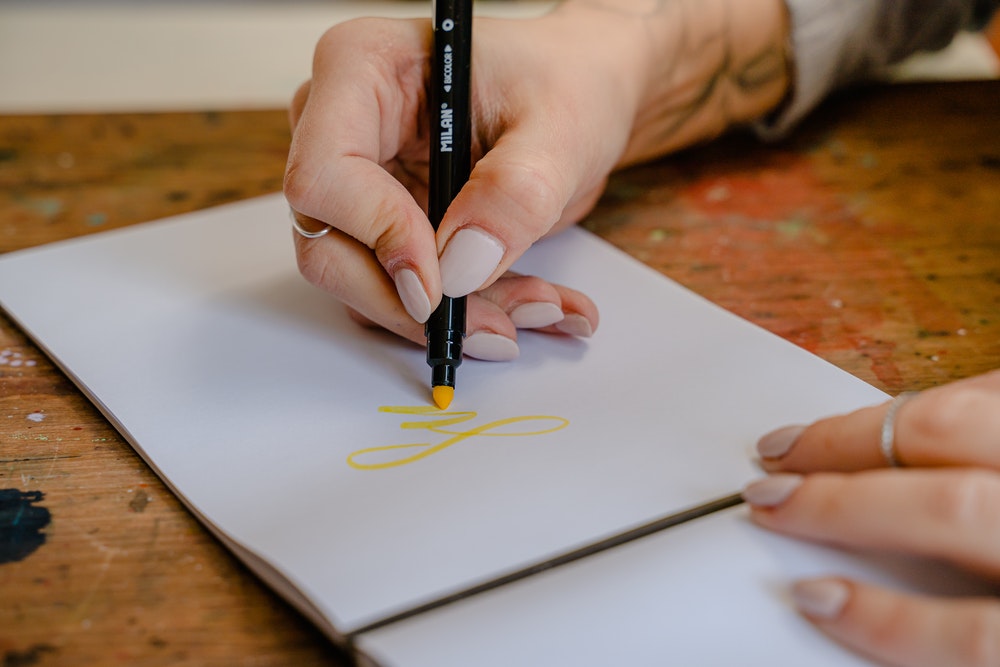
Image source: Pexels
Try faux-calligraphy for beginners
A good way to get started with calligraphy for beginners is with faux calligraphy. This essentially replicates the style of traditional hand lettering, without needing to master the often-tricky nibs and brushes that might have scared you off.
To get started with faux-calligraphy, write out a word in your normal joined-up handwriting, paying attention to where your pen moves as you write, especially the downstrokes. (Wondering just what the heck a downstroke is? Basically, every time your pen pulls down towards the bottom of the page, that’s a downstroke.) Then go back with your pen and thicken those lines, while leaving the upstrokes intact and thin. This will create an effect that looks like hand lettering, and help you get a feel for how you’d like your calligraphy to look. Wanting more detail? Check out Little Coffee Fox for a great guide to faux-calligraphy.
Write slowly
In our modern, high-speed age, you might be used to writing as fast as possible – but in calligraphy you’ll want to slow it down, pausing or lifting your pen after each stroke. Especially as you’re getting into hand lettering for beginners, you’ll want to pay attention to each downstroke as you’re making it, and getting used to how your pen’s angled.
Learn the anatomy of letters
We know what you’re thinking – you read and write all twenty six letters in the alphabet, and presumably have done so for a not-insignificant amount of time. You did your honest time learning letters all the way back in school. Why on earth would you need to relearn that? Well, as you learn how to do calligraphy, you’ll need to know the points that connect, and the best way to smoothly create a sense of motion through your hand lettering. As you start following calligraphy tutorials, you’ll also find that different parts of letters have specific names – for example, the hollow in the middle of an ‘e’ is called the ‘eye’, and the end of each letter is called the ‘terminal’. You can find out more about the anatomy of letters in this fantastic calligraphy tutorial from 99 Designs.
Calligraphy cards from thortful’s card creators
Feeling inspired? Check out some of our favourite cards featuring beautiful calligraphy from our incredible creators.
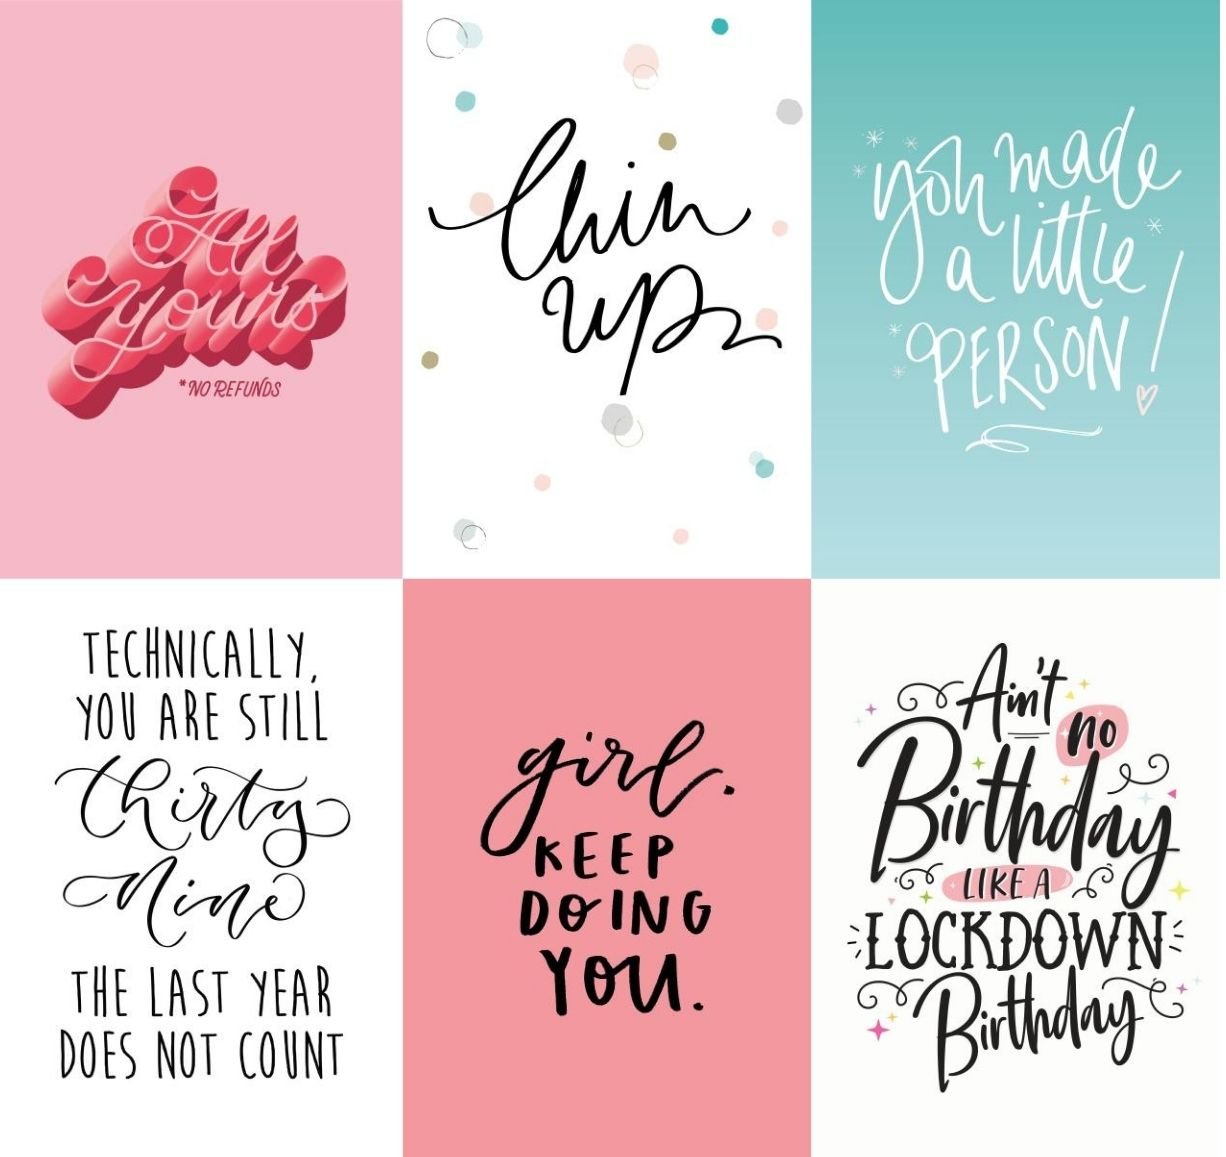
Zoe Bonham | Pearl of a Girl | Pearl of a Girl | The Amyverse | Bee Davies | Lucy Rose Party
Have our top tips on calligraphy for beginners got you feeling crafty? Check out the rest of our how-to guides, such as our winter crafting DIYs. Or maybe you’ll be using your new hand lettering skills to help decorate wedding decorations – in which case you’ll need our essential wedding planning checklist. For more lifestyle tips and ideas, check out the thortful blog.

