Is there any symbol more emblematic of Halloween than the humble pumpkin? At the end of October, the cheerful orange symbol of all things autumnal transforms into a ghoulish grinning jack-o’-lantern. Perching one of these on your doorstep or in your window signals that you’re happy for trick or treaters to come knock at your door – but would you rather carve a pumpkin like a pro, and show off something a little more impressive than the usual pumpkin face of two eyes, a nose and a slightly lopsided smile?
If you want to carve a pumpkin that will really impress your neighbours, you might be surprised to know that a lot of making an impressively carved design is all in the preparation. Follow our guide to learn how to carve like a pro, and even how to attempt some advanced options.
Choose a design
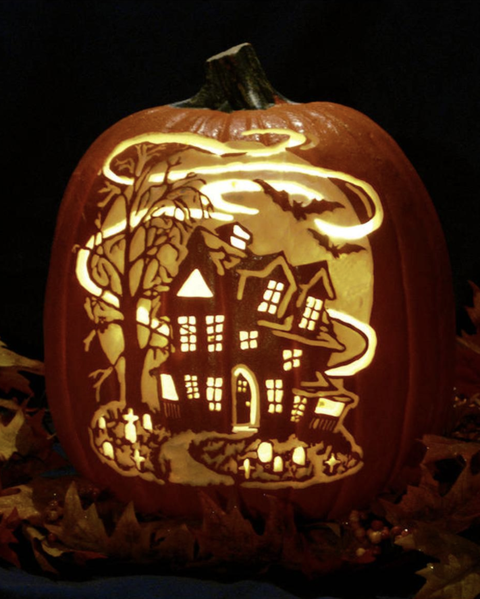
Choose your pumpkin carving designs ahead of time – some designs won’t work on every pumpkin. You might need a particularly tall or wide squash to make your scary pumpkin carving ideas come to life. There are tons of awesome ideas on the internet for pumpkin carving designs – but we’ve rounded up some of our favourites throughout this.
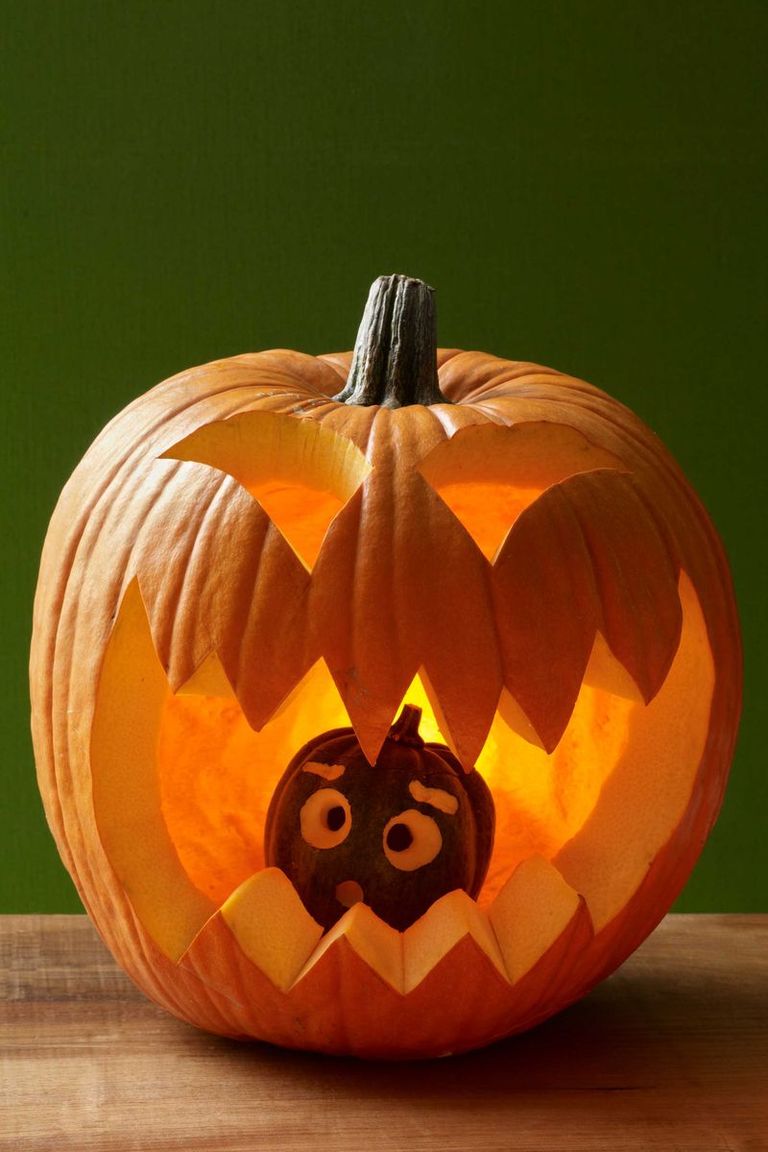
Remember, the more complicated the design, the greater the risk for something going wrong – so if you’re not completely confident you know how to carve a pumpkin like a pro, start with something a little more simple, like an easy silhouetted shape, or something without lots of details.
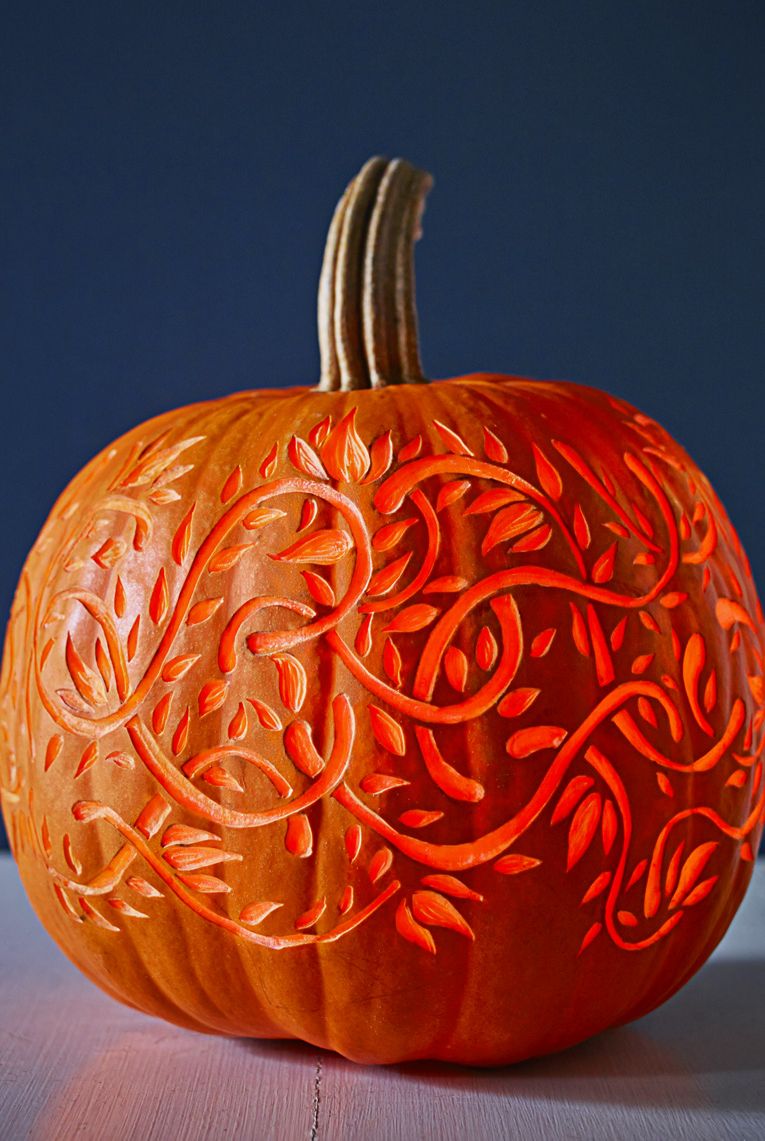
Lots of pumpkin carving designs feature different levels of carving, where you don’t cut all the way through the pumpkin skin, but instead just scrape away some of the outer skin so the light of a candle shows through. This creates a gradient effect that can look fabulous – but it’s also a lot harder to do. If you’re not completely confident in your abilities, stick to easier pumpkin carving designs that have clearly marked areas to cut out, and work your way up to the more complex designs.
Once you’ve found a design you like, print it out and make sure it’s the right size for your pumpkin – you might need to mess around with the size you’re printing at to get one that’s the right size and fit.
Image source: House Beautiful
Get the right tools
Once you’ve got your design chosen and you’re ready to carve a pumpkin, you need to have the right tools for the job. Forget blunt kitchen knives, or those fiddly, cheap little carving kits. The best way to carve a pumpkin is to have everything prepared ahead of time, and an area laid out at your kitchen table with all of your equipment. Think of carving a pumpkin like preparing food – having a blunt knife or unsuitable tools will make the job a lot harder, and potentially more dangerous!
If you’re going to attempt some more advanced pumpkin carving designs, you’ll need a few extra bits and tools.
– A sharp knife, like a vegetable knife
– Ice cream scoop or spoon with flat edges
– Masking tape
– Potato peeler
– A pen that will draw on a pumpkin, like a Sharpie or a biro
– Cocktail sticks or toothpicks
– A bowl to hold the pumpkin bits
– Paper towels to keep everything dry
thortful pumpkin carving tips: Keep hold of those little silica gel packets you get in boxes and bags throughout the year, and put them in your pumpkins to help dry them out and make them last longer!
Image source: Good Housekeeping
Prepare your pumpkin
First, decide where you want to cut the top of your pumpkin – don’t go too far down, or you risk cutting off space you want to leave for the design. You’ll also need to decide whether you want to prepare your pumpkin from the top or the bottom, depending on what look you’re going for. Draw a circle on the top or on the base of your pumpkin, around the stalk or around the dimple on the bottom. Make sure the hole is big enough that you can comfortably reach in to scoop out the inside of the pumpkin. Then, use your sharp knife to carefully cut out the hole, and make sure the lid fits back on snugly.
Then comes the gross bit – scoop out the insides of your pumpkin, making sure you get all of the seeds and stringy fibrous strands. Your ice scream scoop will work great for this – and if you have a spoon with good, flat edges, it’s also really helpful for making sure you’ve got all of the gunk off the interior ‘walls’ of the pumpkin.
Once the interior of your pumpkin is free of pumpkin bits, pat it dry with some paper towels, and get ready to learn how to carve a pumpkin.
thortful pumpkin carving tips: If you’re going to carve out your pumpkin by scraping off the skin instead of cutting through, make sure you cut out your pumpkin lid on the top – otherwise when you put a candle in, there won’t be enough oxygen to burn and it will snuff out.
Image source: Instructables
Apply your design
If you’re super confident, you can try to carve your design freehand – but if you’re just graduating from your basic pumpkin face to something more complex, the best way to carve a pumpkin is by using a stencil. Once you’ve done this a few times, you might find you feel you’re a bit closer to carving a pumpkin like a pro, and you can attempt it by following the look of the design without needing to tape the stencil on.
For the time being though, stick to taping your printed design onto the pumpkin and following it instead. Cut around the rough shape of your face or illustration, leaving plenty of space around the main design to attach it to the ‘face’ of the pumpkin. Use masking tape to stick your stencil down onto your pumpkin, folding the paper over itself where the pumpkin curves.
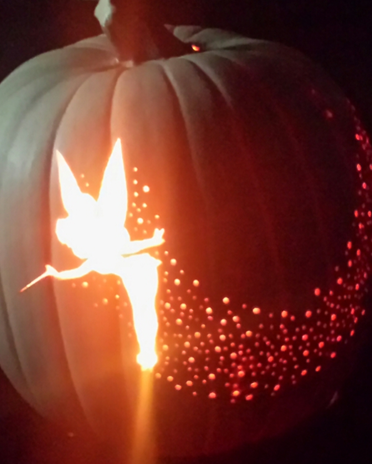
Score a line around the edge of your design with your sharp knife, without cutting through so you can see easily where your design starts and ends. Then, use your cocktail stick or the tip of a pen to make dotted lines along the black parts of your stencil, leaving you with dotted lines on the pumpkin’s skin. This will make it a lot easier to carve, and means you can remove the stencil altogether.
Image source: Woman’s Day
How to carve a pumpkin
Time to get carving. Use your sharp knife to follow the dotted lines, and don’t be tempted to cut in big slices. Keep your knife movements small and steady, and work your way through the wall of the pumpkin without punching through and slicing a bigger cut than you intended.
If you really want to know how to carve a pumpkin like a pro, instead of cutting through, instead try the ‘scraping’ method we mentioned before – carve away the dark bits of the design, so you’re not cutting all the way through the pumpkin, but instead carving through the wall of the pumpkin’s skin to a depth of about half a centimetre. It’s sometimes easier to go from the centre of the areas you’re cutting out towards your scored lines, as this helps you keep the details intact. You can also use a potato peeler to help you scrape away some of the larger areas.
If you’re wondering how to carve pumpkin faces, the steps are pretty much the same – but if you’re looking at some of the impressive 3D textured faces, you might want to invest in a proper sculpting kit, or at least some craft knives.
thortful pumpkin carving tips: Make sure you keep your hands dry to avoid slipping. Spooky severed fingers might be Halloween appropriate, but not when they’re yours.
If you’ve followed our guide on how to carve a pumpkin like a pro, you’re now hopefully looking at a showstopping sinister pumpkin, expertly carved and ready to go out on your windowsill or porch. And if your pumpkin is a bit more messy than menacing, that’s alright – chalk it up to practice, and get ready for next year’s pumpkin to be better than ever. For more Halloween inspiration like spooky cakes to make, check out our range of funny Halloween cards, and discover even more crafty how-to guides on our blog.


